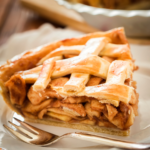
If you’re looking for a dessert that’s both adorable and packed with fruity goodness, these Mini Cherry Pies are a perfect choice! With buttery, flaky crusts and sweet, tangy cherry filling, they bring the charm of a classic cherry pie in a fun, personal-size portion. Great for parties, picnics, or a cozy evening at home, these pies are easy to make and so satisfying to eat. Plus, there’s no need for a plate—just grab a mini pie and enjoy!
Ingredients and Their Roles
For the Crust:
- Pastry flour: the base of our pie crust, giving it structure and a flaky texture.
- Unsalted butter, cold and cubed: adds richness and creates flakiness as it melts in the oven.
- Shortening: has a great impact on the pie texture
- Brown sugar: adds a touch of sweetness to the crust.
- Salt: balances sweetness and enhances flavor.
- Cold water: helps bring the dough together without melting the butter.
For the Cherry Filling
- Can of cherry pie filling
How to make mini cherry pie
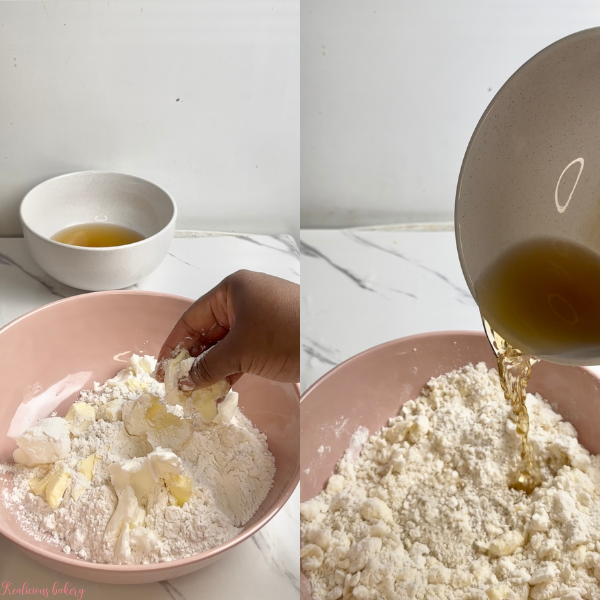
Combine cubed butter, shortening, and flour in a mixing bowl with paddle attachment, or by hand (old school)
Mix the mixture until butter and shortening become hazelnut size. Do not overwork it.
Add salt and brown sugar to cold water. Pour the liquid into the flour and mix until it just comes together
Shape into a disc and wrap with some plastic wrap. Then, let the dough rest in the fridge for 20-30 minutes.
Preheat your oven to 375°F (190°C) and line your mini pie tin.
Roll out one of the chilled dough discs on a floured surface to about 1/8 inch thick. Cut into circles slightly larger than the pie tin. Place each circle into the pie tin, pressing gently to form mini pie shells.
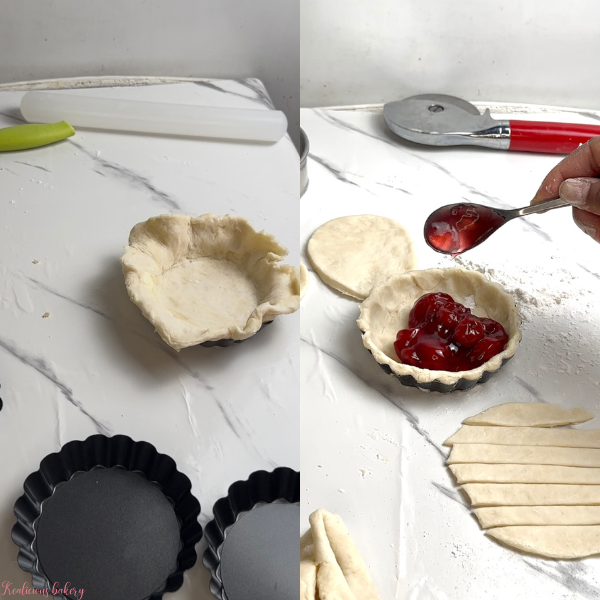
Spoon a tablespoon or two of cherry filling into each crust.
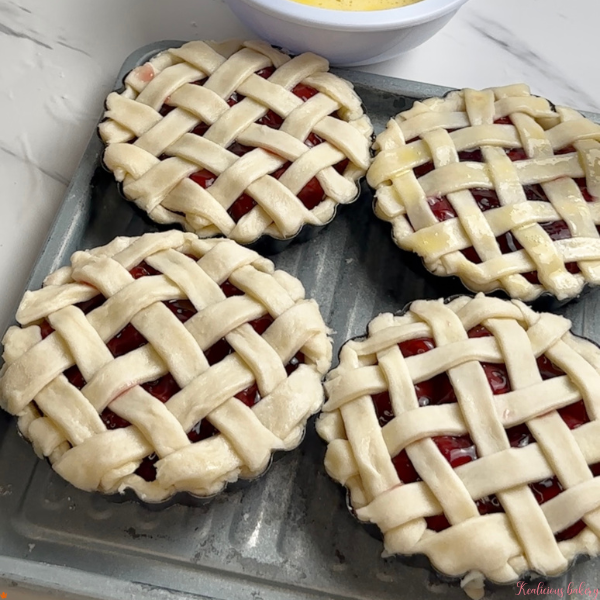
Roll out the second disc of dough and either cut circles to top the pies or cut thin strips for a lattice topping. Brush the tops with egg wash and sprinkle with coarse sugar if desired.
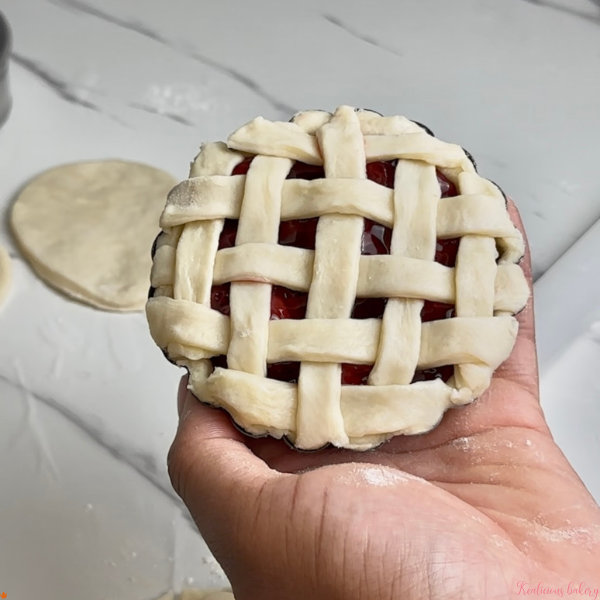
Bake for 25-30 minutes or until the crust is golden brown and the filling is bubbling.
Let the mini pies cool in the tin for a few minutes before transferring to a wire rack. Enjoy warm or at room temperature!
FAQ
Q: Can I use frozen cherries instead of fresh?
A: Yes! Just be sure to thaw and drain the cherries before using them, as excess liquid can make the filling too runny.
Q: How long do these mini pies stay fresh?
A: Stored in an airtight container, these pies will stay fresh for up to three days at room temperature or five days in the refrigerator.
Q: Can I make the dough in advance?
A: Absolutely! You can prepare the dough up to two days ahead and store it in the fridge. Just let it soften slightly at room temperature before rolling it out.
Q: Can I freeze the pies?
A: Yes, baked mini pies freeze well. Wrap them tightly in plastic wrap and store in a freezer-safe container for up to three months. Thaw at room temperature before serving.
Q: How do I prevent the filling from bubbling over?
A: Try not to overfill each pie with cherry filling. You can also add a small vent or lattice top to allow steam to escape.
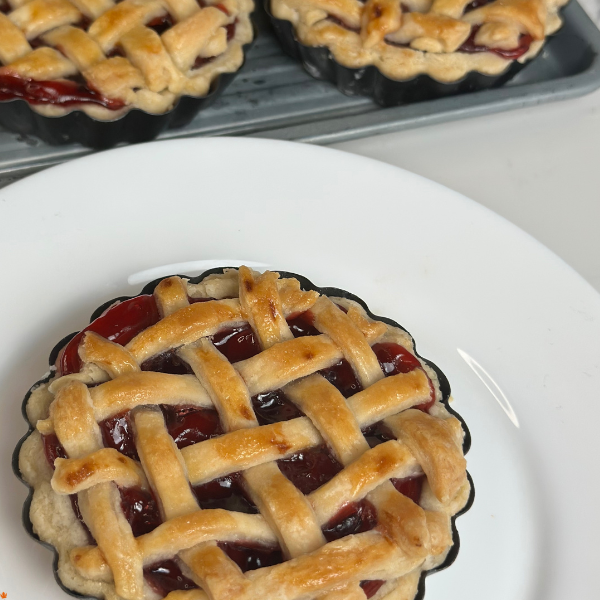
Enjoy baking and savoring these delightful Mini Cherry Pies! Happy baking!
Ingredients
- 375 g pastry flour all-purpose is also good
- 125 g butter cold
- 125 g shortening
- 125 g water cold
- 7 g salt
- 15 g brown sugar
Filling
- 1 can cherry pie filling
- 1 egg wash (egg + 1 tbsp of milk)
Instructions
- Combine cubed butter, shortening, and flour in a mixing bowl with paddle attachment, or by hand (old school)
- Mix the mixture until butter and shortening become hazelnut size. Do not overwork it.
- Add salt and brown sugar to cold water. Pour the liquid into the flour and mix until it just comes together
- Shape into a disc and wrap with some plastic wrap. Then, let the dough rest in the fridge for 20-30 minutes.
- Preheat your oven to 375°F (190°C) and line your mini pie tin.
- Roll out one of the chilled dough discs on a floured surface to about 1/8 inch thick. Cut into circles slightly larger than the pie tin. Place each circle into the pie tin, pressing gently to form mini pie shells.
- Spoon a tablespoon or two of cherry filling into each crust.
- Roll out the second disc of dough and either cut circles to top the pies or cut thin strips for a lattice topping. Brush the tops with egg wash and sprinkle with coarse sugar if desired.
- Bake for 25-30 minutes or until the crust is golden brown and the filling is bubbling.
- Let the mini pies cool in the tin for a few minutes before transferring to a wire rack. Enjoy warm or at room temperature!
Notes
- Use Cold Butter: Cold butter creates a flaky crust. Keep it in the fridge until you’re ready to use it.
- Work Quickly: When handling the dough, work quickly to keep the butter cold.
- Chill Between Steps: Chilling the dough helps prevent shrinking and improves flakiness.
Troubleshooting Steps
- Runny Filling: If your cherry filling is too runny, it may need more cornstarch. Ensure the filling is fully cooled before adding it to the crust.
- Soggy Bottoms: If the bottom crust is soggy, you might not have baked it long enough. Consider baking an extra few minutes or baking on the lower oven rack.
- Crumbly Dough: If your dough isn’t coming together, add more water, one teaspoon at a time, until it’s cohesive but not sticky.
